if else구문이 아닌, 구문에서의 else의 사용
1. for - else 구문:
for loop가 정상적으로 완료되면 else 구문이 실행됩니다. break으로 중단되는 경우 else 블록은 실행되지 않습니다.
numbers = [1, 2, 3, 4, 5]

for number in numbers:
    if number == 3:
        print("Found 3!")
        break
else:
    print("3 is not in the list.")
2. try-except-else:
try-except에서 예외가 발생하지 않을 때, else 블록이 실행됩니다.
이거 왜 쓰냐는 질문이 종종있는데요. 아래의 예시를 들어보겠습니다. 아래의 try-except구문에서 FileNoteFoundError을 open()함수에서 발생할 수 있다는 것을 경험적으로 알 수 있습니다.
try:
    file = open('example.txt', 'r')
    content = file.read()
    print(content)
    file.close()
except FileNotFoundError:
    print("File not found.")
이는 open()에서 자주 예외가 발생할 수 있는데, 만일 open이 아니라 my_fun1(), my_fun2()라면 어느구문에서 해당예외가 발생한다고 예측할 수 있을까요? 즉, 실제로 예외가 발생하지 않는 경우에도 try 블록에 많은 코드가 포함되어있어서 디버깅이 어렵습니다. try-except구문에서는 예외가 발생할 수 있는 함수의 호출을 최소한의 블록으로 담아야 더 명시적입니다.
try:
    my_func1()
    my_func2()
except FileNotFoundError:
    print("file not found)
따라서, 이를 처리하기위해 아래와 같이 try-except-else 구문으로 처리해볼 수 있습니다.
try:
    file = open('example.txt', 'r')  #open()에 대해서만 예외처리
except FileNotFoundError:
    print("File not found.")
else:
    content = file.read()
    print(content)
    file.close()
이는 EAFP(Easier to ask for forgiveness than permission, 허락보다 용서가 쉽다) 코딩스타일로 `if os.path.exist()`등으로 처리가 가능하나, 파이썬에서는 EAFP스타일을 사용을 많이합니다.
with 구문
with 구문은 크게 2가지로 구성됩니다.
- `__enter__`: with 구문의 실행 (진입)
- `__exit__`: with 구문의 종료. + with 구문에 끝에 finally 절의 역할이 수행됩니다.
with 구문은 컨텍스트 관리자 객체를 사용하여, 코드블록의 진입과 종료 시에 특별한 동작을 합니다. 컨텍스트 관리자 객체는 __enter__와 __exit__ 메서드를 구현하여, 코드 블록 진입 시에 __enter__ 메서드를, 종료 시에 __exit__ 메서드를 호출하게 합니다. 즉, 컨텍스트 관리자를 이용하면, 자원 해제, 예외 처리 등을 신뢰성 있게 관리할 수 있습니다.
아래의 예시를 하나 들어보겠습니다. 아래의 예시에서는 파일 객체를 반환하고,
- with구문으로 실행될때 (__enter__)가 실행되고,
- with 구문이 종료되면 (__exit__)이 종료되는 것 과 같습니다.
with open('example.txt', 'r') as file:
    content = file.read()
    print(content)
실제로 `__enter__`, `__exit__`이 있는지 살펴보겠습니다.
In [1]: # open 함수로 반환된 파일 객체의 __enter__와 __exit__ 메서드 확인
   ...: with open('example.txt', 'r') as file:
   ...:     print(hasattr(file, '__enter__'))  # True 출력
   ...:     print(hasattr(file, '__exit__'))   # True 출력
   ...:     content = file.read()
   ...:     print(content)
   ...:
True
True
또 다른 예시로는 사용자 정의 컨테스트를 만들 수 있습니다. 이 때도, 마찬가지로 `__enter__`, `__exit__`의 메직메서드의 구현이 되어있어야합니다.
class Resource:
    def __enter__(self):
        print('Resource allocated')
        return self

    def __exit__(self, exc_type, exc_value, traceback):
        print('Resource released')

# 컨텍스트 관리자 사용
with Resource() as resource:
    print('Using the resource')

Resource allocated  # with 구문이 실행될 때
Using the resource  # print구문
Resource released   # with 구문의 종료
sqlite3나 mysqlDB등을 이용할때의 db connection을 명시적으로 종료하지않고 with구문으로 컨텍스트매니저로 사용할 수 있습니다.
import sqlite3

with sqlite3.connect('example.db') as conn:
    cursor = conn.cursor()
    cursor.execute('SELECT * FROM users')
    results = cursor.fetchall()
    print(results)
contextlib: python 표준라이브러리
1. @contextmanager: 이 데코레이터는 컨텍스트 메니저를 생성할때 코드를 줄여줍니다.
@contextmanager 데코레이터는 컨텍스트 관리자를 생성할 때 사용됩니다. 이 데코레이터를 사용하면 __enter__와 __exit__ 메서드를 명시적으로 구현하지 않고도 컨텍스트 관리자를 만들 수 있습니다. 대신, 함수 내부에서 yield를 사용하여 진입 및 종료 시 실행할 코드를 정의합니다.
아래와 같은 예시를 들어보겠습니다.
from contextlib import contextmanager
import time

@contextmanager
def timer():
    start = time.time()
    try:
        yield
    finally:
        end = time.time()
        print(f'Elapsed time: {end - start} seconds')

# 사용 예시
with timer():   # start = time.time()이 서브루틴에서 할당됨. yield로 메인루틴으로 전환
    time.sleep(2)  # yield 이후 메인루틴의 실행, with 구문종료시 서브루틴의 finally 구문으로 전환
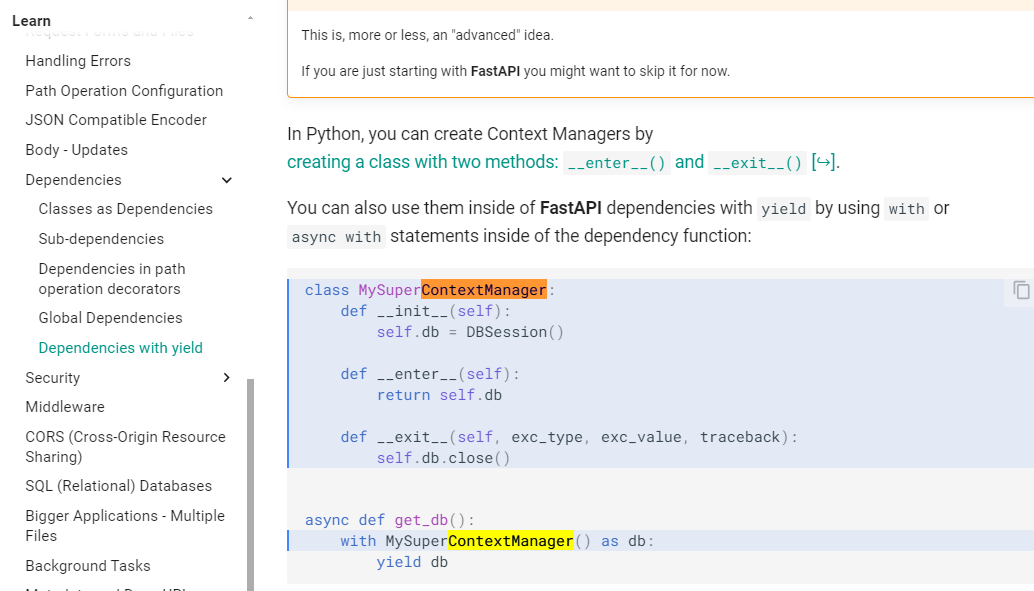
또 다른 예시로,DB의 FastAPI의 contextmanager을 디팬던시로 사용하는 경우입니다.
FastAPI에서 contextmanager역할로 `__enter__`, `__exit__`메서드를 구현했지만, contextlib 내의 contextmangager 데코레이터를 이용하면 그럴필요는 없습니다.

아래와 같이 구현이 가능합니다.
from contextlib import contextmanager

@contextmanager
def get_db():
    db = DBSession()
    try:
        yield db
    finally:
        db.close()

# FastAPI dependency 사용 예시
@app.get("/items/")
async def read_items(db: DBSession = Depends(get_db)):
    # 데이터베이스 작업
    items = db.execute("SELECT * FROM items").fetchall()
return items'Data science > Python' 카테고리의 다른 글
| Coroutine: python 정리 (1) | 2024.07.17 |
|---|---|
| numpy array의 stride란? (0) | 2024.07.10 |
| python 매직메서드 (__repr__, __str__, __slots__) (0) | 2024.06.03 |
| 파이썬 바이트 표현 (bytes, bytearray) (0) | 2024.05.07 |
| [5분 컷 이해] 코루틴, 메인루틴, 서브루틴 ! (0) | 2024.03.03 |


